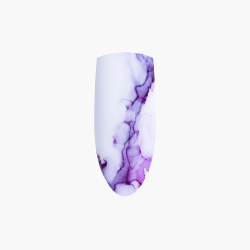
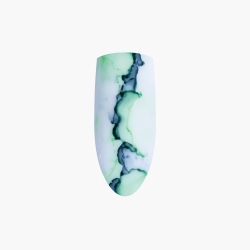
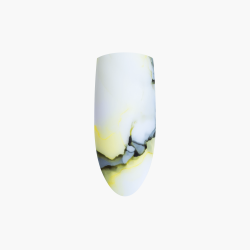
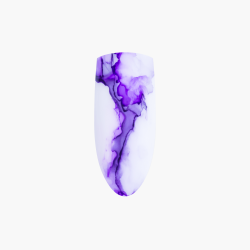
Marble effect on nails is one of the hottest trends! This nail art technique has recently stolen the hearts of many women. We are not surprised: the natural stone look is very impressive, intriguing and elegant. If you are bored with solid colour hybrids, classic French manicure is not for you, and decorated with zircons nails are not your style - bet on the marble decoration - we guarantee that you will be pleased!
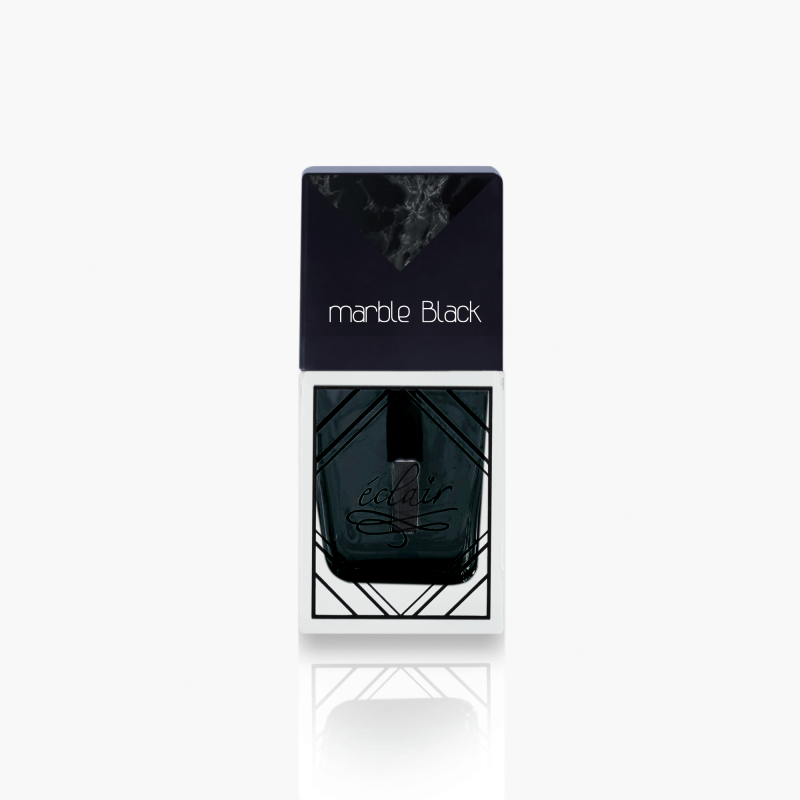
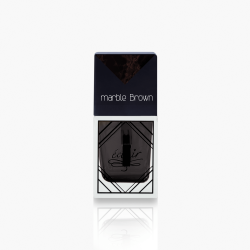
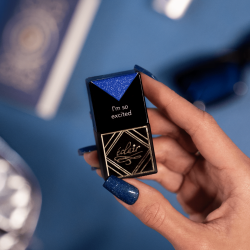
Marbled nail art looks complicated and time consuming at first glance, but it is actually very easy to do. With our Eclair Magic Drops you can quickly and easily create unique, three-dimensional effects that resemble the natural depths of fine marble. You can combine any colour you like. Do you prefer a classic style with black marble and white or yellow veins? Or do you fancy embellishing your hair in deep red and pink? The choice is yours!
Do you want a marble effect on your nails but don't quite know how to go about it? Then take part in the Eclair-Nail online Marble Effectworkshop! With our courses you can improve your skills - welcome!
Eclair Nail Studio, Zmartwychwstańców Street 11/2, 61-501 Poznań, Tel. +48 604 848 501, Email: biuro@eclair-nail.com
How to Properly Create a Marble Effect Nail Design?
The Marble Effect is one of the most popular nail art styles, adding elegance and a unique look to your nails. If you want to achieve a perfect stone-like structure, you need the right tools and techniques. Learn how to create a Marble Effect step by step.
Necessary Tools and Products
Before starting the Marble Effect nail design, prepare the following tools and products:
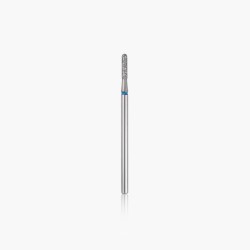
Marble Base Éclair or 180/240 buffer – Use it to prepare the nail plate by lightly buffing its surface, or apply a layer of Marble Base and cure it in a UV/LED lamp.
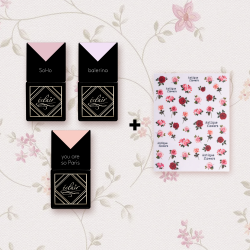
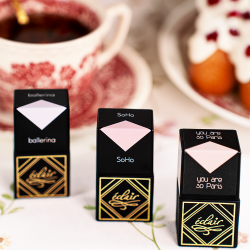
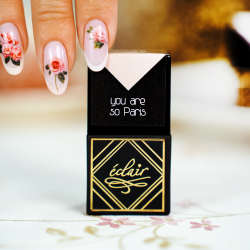
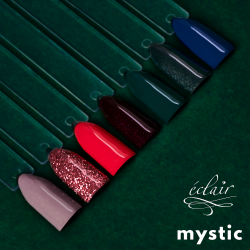
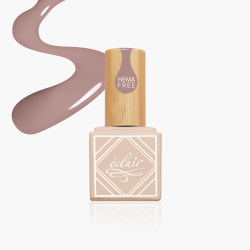
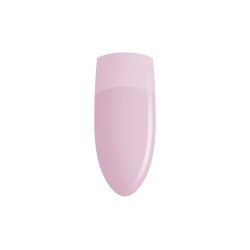
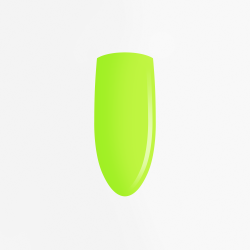
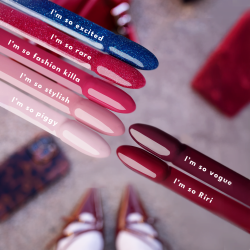
Marble Effect in the chosen color or multiple shades – Select your favorite Marble Effect colors to create a marble-like texture.
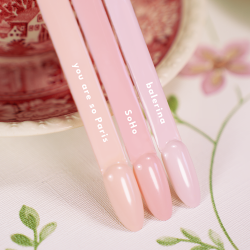
PETAL brush – A special brush designed for precisely applying Marble Effect drops.
Cleaner – Used for blending the edges of Marble Effect drops on the nail plate.
Hybrid top coat – Helps secure the design and add shine to the final look.
STEP 1:
Nail Preparation
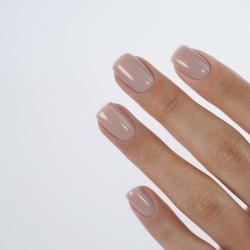
Start by preparing your nails in a light or neutral base color. Alternatively, buff the nail plate with a 180/240 buffer to gently remove shine. You can also apply a Marble Base layer and cure it in a lamp for 60 seconds. After curing, wipe off the dispersion layer.
STEP 2:
Applying the Marble Effect
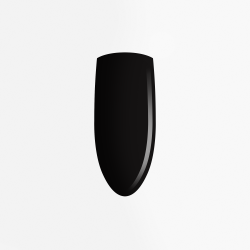
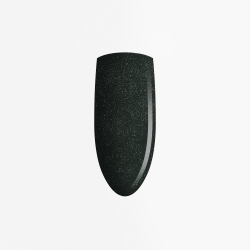
Now it’s time to apply the Marble Effect. Start with the darkest color you have chosen. Place a few drops on the nail in different areas to create a unique pattern.
STEP 3:
Adding Additional Shades
Once you’ve applied the darkest Marble Effect color, proceed with the next shades. Carefully select areas where you want to add these colors and gently place additional drops.
STEP 4:
Blending the Colors
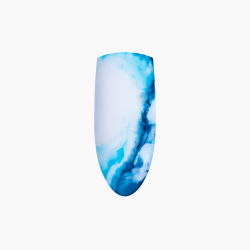
To achieve smooth transitions between the Marble Effect drops, dip the PETAL brush in Cleaner. Gently blend the edges of the drops to create a natural marble effect.
STEP 5:
Securing the Design
Once you achieve the desired Marble Effect, it’s time to secure the design:
Apply a thin layer of hybrid top coat to cover the entire nail surface.
Ensure that the top coat fully covers both the Marble Effect and the nail plate.
Final Curing
To achieve a long-lasting effect and prevent chipping, cure the design under a UV or LED lamp. Make sure to adjust the curing time according to the product specifications.
Tips and Tricks
Here are some extra tips to help you create a perfect Marble Effect design:
Choose contrasting colors to add depth and make the pattern stand out.
Experiment with different color combinations and drop sizes to discover your own unique style.
For more precision, use a thin nail art brush or even a toothpick.
Patience and practice are key to mastering the Marble Effect technique.
The Marble Effect nail design is a fantastic way to add elegance and uniqueness to your nails. With the right tools and techniques, you can create a stunning marble texture that will impress everyone.
Be sure to follow each step carefully, focusing on smooth color transitions and proper depth. After sealing the design with a top coat, cure it in a lamp and enjoy your beautiful marble nails!
Precautions: For professional use only. Read the instructions carefully before use. Avoid contact with skin. Avoid contact with eyes. May cause an allergic reaction. Keep out of reach of children. Protect from high temperatures and direct sunlight.